Sunday, December 28, 2014

Two "S" In Dessert Because It Is Sugar Sweet

Raspberry Amaretto Brownies


INGREDIENTS

½ Cup Raspberries, Fresh or Frozen
6 Tablespoons Unsalted Butter (more for greasing the pan)
1 ¼ Cup Sugar
3/4 Cup Cocoa Powder
½ Cup Flour
½ Teaspoon Baking Powder
1/4 Teaspoon Salt
1 Teaspoon Vanilla Extract
½ Teaspoon Almond Extract
3 Tablespoons Raspberry Preserves


In 5th grade I was required to make either an informational or instructional speech in front of the WHOLE class. So, of course being a tiny Julia Child, I decided to teach the class how to make brownies.  Why do I share this story? Because brownies are so very easy, that literally a small child can make them.  These brownies are made a little more interesting with the addition of fresh raspberries as the base of the batter and a touch of almond extract. They are very sweet and dense.  These are not a fluffy cake-like treat, rather more of the consistency of a flourless chocolate cake.  I used to just make these as standard brownies with raspberry preserves on top, but then took a cue from the applesauce replacement for oil and made it fruit based.
 
Begin by preheating the oven to 350 degrees.
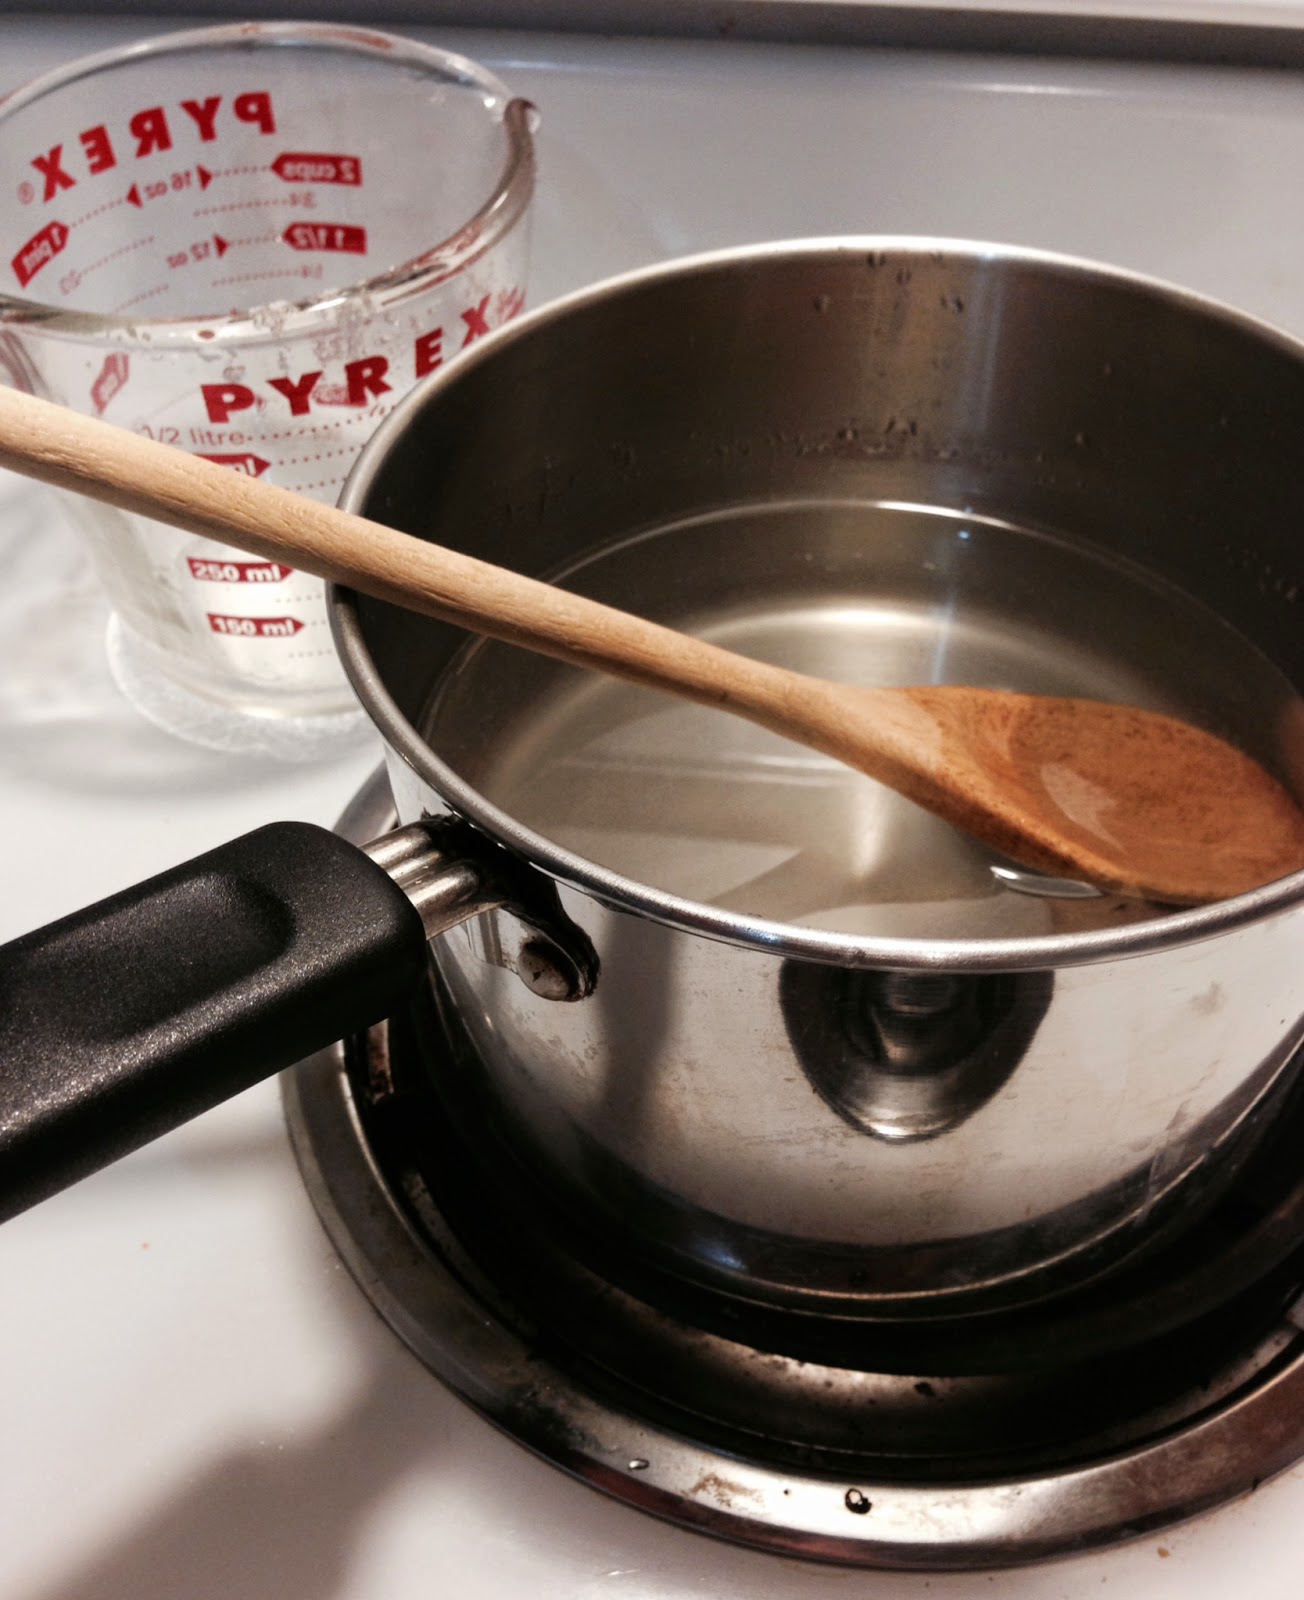
Begin by melting 2 tablespoons of the butter over low to medium heat.  Add the raspberries allow to break down, about two minutes over the medium heat. Help it along by stirring it with a wooden spoon. 


Add the remaining butter, allowing to melt, then add the rest of the sugar.


 Allow to cool a bit so it is not too much higher than room temperature. This recipe calls for less butter than a non-fruit brownie because the raspberry adds extra moisture.  Beat two eggs in a separate bowl. Add the eggs to the raspberry mixture and combine.  


Then, add the extracts.  I like the hint of almond because it plays well with the raspberry without being overpowering. If you don’t like almond, feel free to replace with more vanilla.
Combine flour, baking powder, salt, cocoa in a bowl.
 
 
Add the dry ingredients to the wet ingredients.  Combine until there are no lumps.  You’ll need to stir well, scraping down the side of the pot with a rubber spatula if you can’t quite coax it out with the spoon.


Pour brownie batter into a greased 8 x 8 pan.  If you have only a 9x9, use the lower end of the cooking time since they are thinner.  I greased the pan with an extra tablespoon of butter then dusted with flower like  you would prepare a cake pan. You can also lay down foil, enough so that at least an inch hangs over each side, and spray with cooking spray.
 
 
Warm the raspberry jam until it melts to a honey like texture.  I used the jar in boiling water like a double boiler and it took about two minutes.  Those of you with microwaves (I know, everyone BUT me has one) can just melt in about 20 seconds.  Using a spoon, drizzle the melted raspberry preserves over the surface of the brownies in lines, swirling over the surface of the batter with the back of a knife for a marbled effect. 


Bake for 30 to 35 minutes or until you can insert a toothpick or knife in the center with only minimal brownie goo sticking.  When in doubt, remove before the sides get hard, these brownies are rich and fudgy.
 
 
Cool dish on a cooling rack and then cut to serve.  Excellent as a brownie sundae or on their own.
When serving for a party, I place the brownies in muffin tins as individual serving cups.


https://ssl.gstatic.com/ui/v1/icons/mail/images/cleardot.gif


Saturday, December 27, 2014

When Life Gives You Lemons, Peel Them To Shreds and Make A Cocktail.

Limoncello

 
My first limoncello experience was in a tiny restaurant in the North End, Boston’s “little Italy.”  Limoncello is a bright yellow, lemon-brewed, clear alcohol that is heavily sweetened. After a fantastic dinner, it was first served to me chilled in a tiny cup, on-the-house. It is a sweet after dinner drink on its own, mixed into cocktails, or served as a topping on ice-cream.  This year, I choose to make it as a DIY gift for friends and family.

INGREDIENTS


18 to 20 Lemons, Organic Preferred
1 “Handle” Vodka (1.75 Liter) (Tito's preferred)
4 Cups Granulated Sugar
4 Cups Water
2 Tablespoons Honey
 

TOOLS TO HAVE ON HAND


To Brew, Large Glass Pitcher or Large Empty Jars
Vegetable Peeler and a Pruning Knife OR a Microplane
Pitcher for Transferring
Coffee Filter or Tea Strainer


To begin, you will need about 18 Lemons.  I knew I would only be brewing the limoncello for only a few weeks at the most, so I wanted to be sure it was fully flavored.  Organic is preferable because the alcohol will saturate the peels and extract anything in or attached to them like pesticides and/or wax. Non- organic lemons are just fine, but just  be sure to scrub and wash them well.  
 
Peel the cleaned lemons with a vegetable peeler.


Be sure to remove any of the white pith that is attached to the peel with a pearling knife or the back of a spoon.
 
(Before and After Pith)
 
 
The pith is bitter and unpalatable.  I’m not doing to fool anyone, peeling the lemons is the absolute WORST part of this simple recipe.  It took forever and I was scared I was going to cut myself.  Zesting  the lemons with a microplane is substantially faster and easier alternative than peeling, but, you'll need to be much more careful when it comes to straining later in the recipe because it will create more sediment.

Once the unbearable peeling is over, you want to place the peels into your large glass container of choice, and add the vodka. 


When it came to selecting the vodka, I reviewed multiple classic limoncello recipes in coming up with my version. Many traditional recipes, called for ever clear, or in the alternative 100 proof vodka. When I went to my local liquor store, the only 100 proof vodka available was “Mr. Boston” in a plastic bottle with a tattered label, and it was just about $12.00.  Not being comfortable with poisoning my gift recipients and being conscious of the gluten free among us- I stuck with Tito’s.
 
Glass as the brewing vessel is preferred, again, because the vodka will extract from the container (BPA’s, google it) but also because the yellow dye from the lemon is so strong it will discolor any plastic vessel.  I used a large mason jar with a spout that I picked up from a craft store. If you use multiple vessels, just be sure to divide the lemons and vodka equally.

Now- leave the vodka and lemon peels alone to brew in a cabinet for at least 4 or 5 days, but, preferably a few weeks. I left mine for 3 weeks. The bright color appeared after the first few days, but after 3 weeks it was a deep dark yellow.


I was a little worried that the dark yellow was not the bright spring yellow I’ve seen in the manufactured brands, but, once you add the simple syrup the color dilutes.

To prepare the finished product, begin by separating the vodka from the peels. I did so by dispensing the vodka through the spout into a pitcher, discarding the lemons, and rinsing the vessel.
 
You then want to strain the vodka back into the large vessel through a coffee filter or tea strainer to remove any sediment. If you zested instead of peeling, you'll need to repeat this step to get a clear result.

Make simple syrup using equal parts sugar and water. You begin by boiling the water, then reducing it to medium heat and adding the sugar, stirring until transparent.  I added two tablespoons of honey to make the flavor slightly more complex but not overtly “honey.”  If your water is a little "flavored" (those with old pipes know what I'm saying), use bottled.  Allow to cool.  If you think you would you would prefer the liquor more or less diluted, add the syrup accordingly or make a little extra.

Once the simple syrup has cooled, combine it with the vodka.  If you add it when it is hot, it will boil off the alcohol.


Once combined, you are ready to bottle.

I purchased some mini mason bottles from the craft store, and repurposed some fancy tea bottles that I had at home.


I presented these bottles as gifts with small labels.  It made a interesting and easy DIY gift, especially paired with homemade lemon zest soap for a citrus theme.
 Store in the freezer and use within a year.

Sunday, December 21, 2014

The Proof Is In The Pesto. Staple Pesto Recipe and The Dip-To-End-All-Dips

Pesto


A friend of mine recently commented that I put pesto in everything.  She is right.
This is the first time I’ve ever measured the proportions of this “recipe.” I’ve always done it by eye, feel free to mess with the proportions accordingly. Pesto is a basic Italian staple and can be used in a variety of settings, on its own as a sauce, or mixed into canned tomato soup for a homemade flavor.  My personal favorite off label use is in Pesto Dip, the recipe you will find below.


INGREDIENTS

¼ Cup Pine Nuts
Large Bunch of Basil, Enough for
3 Cups Leaves Slightly Packed
2 to 3 Cloves of Garlic
1/3 Cup Oil (Extra to Cover if Storing)
½ Cup Parmesan or Romano Cheese


To begin, you want fresh basil and lots of it. If it’s slightly bruised, don’t worry, it is about to get pummeled. Do not use slimy or blackened leaves, those are past their prime and will ruin the taste. Remove the leaves from the woody stems.  A little bit of the more delicate stems by the leaves are fine, they blend in without disrupting the flavor or texture.  You want to clean the leaves VERY well. Basil is grown in sandy dirt, and, if you don’t get it all off it will make your pesto gritty. I clean the basil by first removing the roots, if any, then placing the plucked leaves in water, swishing and emptying the bowl, then refilling and repeating. I finally swish the leaves and let the dirt settle at the bottom, then remove and ring out the leaves to place directly into the food processor.   
 
 
Run them through a salad spinner if you have one.
 
Once the basil is cleaned and waiting to be added the food processor, remove the skins from two to three cloves of garlic. I remove the skins by crushing under the flat side of a large knife.


I used three because I LOVE garlic, but, would recommend two for the garlic-breath-averse.
 
 
Place the olive oil and the garlic into the food processor or blender with the pine nuts, and blend until smooth.


If you can’t find pine nuts, cashews will work as a substitute. I prefer not to use a huge amount of oil  when I prepare pesto, because you can always thin it with more oil or pasta water when you serve on pasta. Also, if you store it, it’s kept under an extra layer of oil.
 Add the clean basil to the food processor and blend by pulsing.
 
Check the mixture as you go along to make sure all leaves are pushed down, and then continue to pulse until fully mixed to almost a paste, but still a little leafy.  
 
Add the parmesan and blend again until mixed. 
 
Ready to serve! 


Store any unused portion under a layer of oil in the refrigerator or freezer to last longer. Makes about one cup.
NOTE:  If you want to make extra pesto to freeze, remove the portion you wish to freeze before the cheese is added and cover with a thin layer of oil before placing in the freezer. To serve, just defrost and add the cheese.  


CREAMY PESTO DIP

I came up with this recipe almost three years ago on St. Patrick’s Day. I was looking for something green to bring to a party in Southie and had pesto handy in the refrigerator. Ta-da, Pesto Dip was born.  It’s since become a party stable and has been affectionately renamed “Pesto Crack Dip.”   It is simple and fast to make. You can make it in a mixer, or just using a bowl and mixing spoon. I strongly recommend homemade pesto, but if you need to use store bought, use the type in the refrigerator section, and, be sure to drain the excess oil.


INGREDIENTS

½ Cup Pesto
¾ Cup Sour Cream
4 oz (1/2 Block) Cream Cheese
¼ Cup plus 1 Tablespoon Mayonnaise
 ¼ Cup Parmesan or Romano Cheese


Combine all ingredients in a mixing bowl or food processor.


Blend until smooth and bright.


Best when served with red peppers, carrots, and celery or with crackers and bread.  If by some miracle you have leftovers, it is fantastic as a base for a white pizza or as a sandwich spread.


Sunday, December 14, 2014

Dinner Date at Home: Baked Scallops and Lemon Pesto Cream Fettuccini

Baked scallops are the perfect stay in dinner entrĂ©e.   If you order them at a restaurant, you are almost certain to leave underfed. But, for the same prince of a single mini serving out, you can have a massive seafood feast at home.

Baked Scallops

Ingredients
¾  to 1lb of Sea Scallops
2 Tablespoons Butter
1 Tablespoon Milk or Cream
1/3 Cup Breadcrumbs
To begin, buying the right scallops is essential. I am huge proponent of being thrifty, but, this is not the time to pinch pennies.  In Boston, my market of choice is James Hook and Co.  Seafood is all they do and they do it well. 
 
I do my best to use the scallops same day, or at most the day after purchase.   Be sure to select sea scallops not bay scallops- they just aren’t the same for this dish and cooking times would vary.
To begin, preheat the oven to 375 degrees.
I start by checking each scallop to see if any of the side muscle remains, and, if present remove and discard.  You will be able to recognize it as a slightly opaque tag of muscle that is tougher than the rest of the scallop.  Once inspected, I fill a bowl with cold water and place the scallops in gently to rinse any residue. Scallops are very delicate so emphasis on doing this gently.  If you prefer to rinse, do it under cool lighting running water so you do not tear the scallop.  Place the cleaned scallops on a dry paper towel, then and pat dry with a second paper towel.
Place 1 to 1 and ½ tablespoons of butter in a pie plate and put in the oven until it melts.  Allow to cool slightly and add the milk.
 
The milk helps calm any remaining fishiness that might be present.  You want the butter and milk mixture to cool a bit so that the scallops do not poach in the liquid before they go in the oven. Once slightly cooled, add the scallops to the pie plate, flipping to coat all sides with the milk and butter mixture. Once moistened, sprinkle approximately ¼ cup of breadcrumbs on top.  I typically use breadcrumbs with Italian herbs, but crushed panko breadcrumbs seasoned with salt and pepper and herbs of your choice is also delicious.  There is no need to salt and pepper the scallops if you used salted and herbed breadcrumbs, but if you make your own or use panko, be sure to add salt and pepper to taste. Once the breadcrumbs evenly cover the scallops, I dot the tops of the scallops with the remaining butter with attention to spots with extra breadcrumbs, to moisten.
 
Place the scallops in the pre-heated oven and set your timer.  The scallops will take 17 to 20 minutes to bake, depending on the size.  As a rule of thumb you’ll know that they are done when you can smell the scallops from outside the oven.
 
 
To test, slice the scallop in half the center should be opaque and the knife should cut straight through without any difficulty. 

Lemon Pesto Cream Fettuccini

1/2 to 3/4 Cup Pesto Home Made or Store Bought
1 Tablespoon Lemon Juice
1 Container Fresh Fettuccini ( 9 or 10 oz)
1/3 of an 8oz Package of Cream Cheese
1 Cup Reserved Pasta Water
I love pesto and will make any excuse to use it. The addition of the lemon to the sauce compliments the scallops and lightens up the dish.
Begin by melting the cream cheese with the lemon juice on low temperature in a very large fry pan.  I've used cream cheese or neufchatel as a substitute for mascarpone for a while now. It's more accessible and less expensive than it's Italian counterpart.
Cook the pasta according to package instructions.  I boil fresh pasta from the local market testing every minute after two minutes.
(Yes, I made two containers. Leftovers!)
 
The nice Italian man behind the counter insists the fettuccini will be done in 2.5 minutes, but, for whatever reason it always takes me just about 7. A good way to test if done is by throwing a ribbon of the pasta at a wall- when it sticks it is done.  Crazy, but, true.
 
Just before the pasta is done, add the pesto to the cream cheese thinning using 1/3 cup water to start, more as needed.  The 1/2 cup of pesto should be enough, but add more to taste if you like. I make my own because I find store bought to be too oily.  If that's the case with yours, just drain off a little of the excess oil before adding it to the pan.  The pasta water can thin the sauce but holds it together with the starch from the pasta. You do not want to overheat the pesto so it does not lose its bright green color.
I reserve the water adding it to the pasta if there are any leftovers.  The pasta will absorb some of the liquid as it cools, so the pasta water will refresh the sauce.
 
Serve with a crisp white wine, and your bread of choice.
 
The best part of a dinner date night in, is the quick trip to the couch when it’s all finished.
Enjoy!